Adjusting your fuel injection system
From time to time, even low-maintenance fuel injection systems need a little attention and resynchronising to make sure that the motorbike's engine runs nice and smoothly.
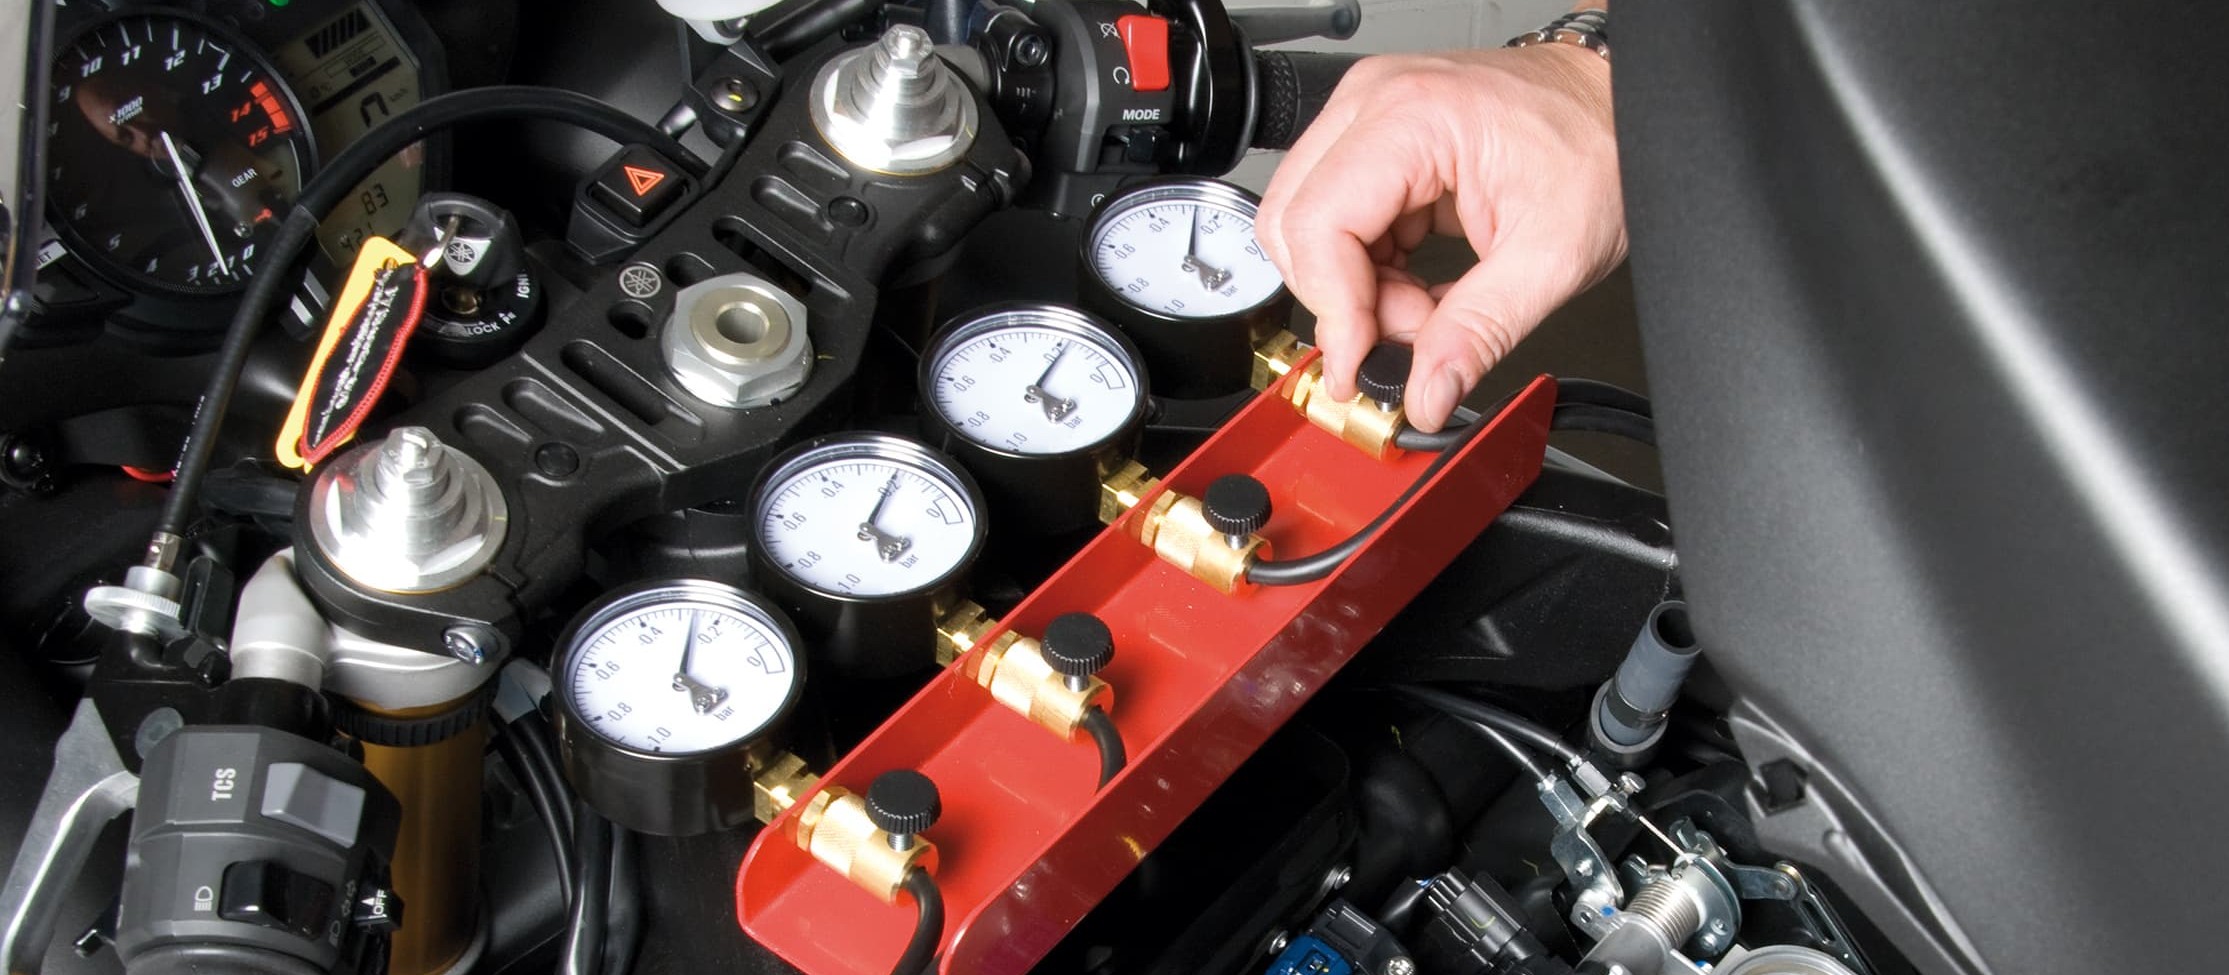
Adjusting your motorbike's fuel injection system
Unlike carburettors, which often need readjustment, fuel injection systems require minimal maintenance as long as all the electronic components are in working order and the system is clean. To keep everything clean, a fuel system cleaner should be added to the fuel in the tank when the motorcycle is not in use to prevent resinous deposits. Also, the air filter service intervals should always be adhered to.
Important: You must not synchronise the modern fuel injection systems on today's bikes. This job is done by the injection unit itself with the assistance of the CPU unit. So you should first check whether it is possible to adjust the fuel injection system on your machine (see maintenance schedule).
Adjusting your fuel injection system – now let's get started
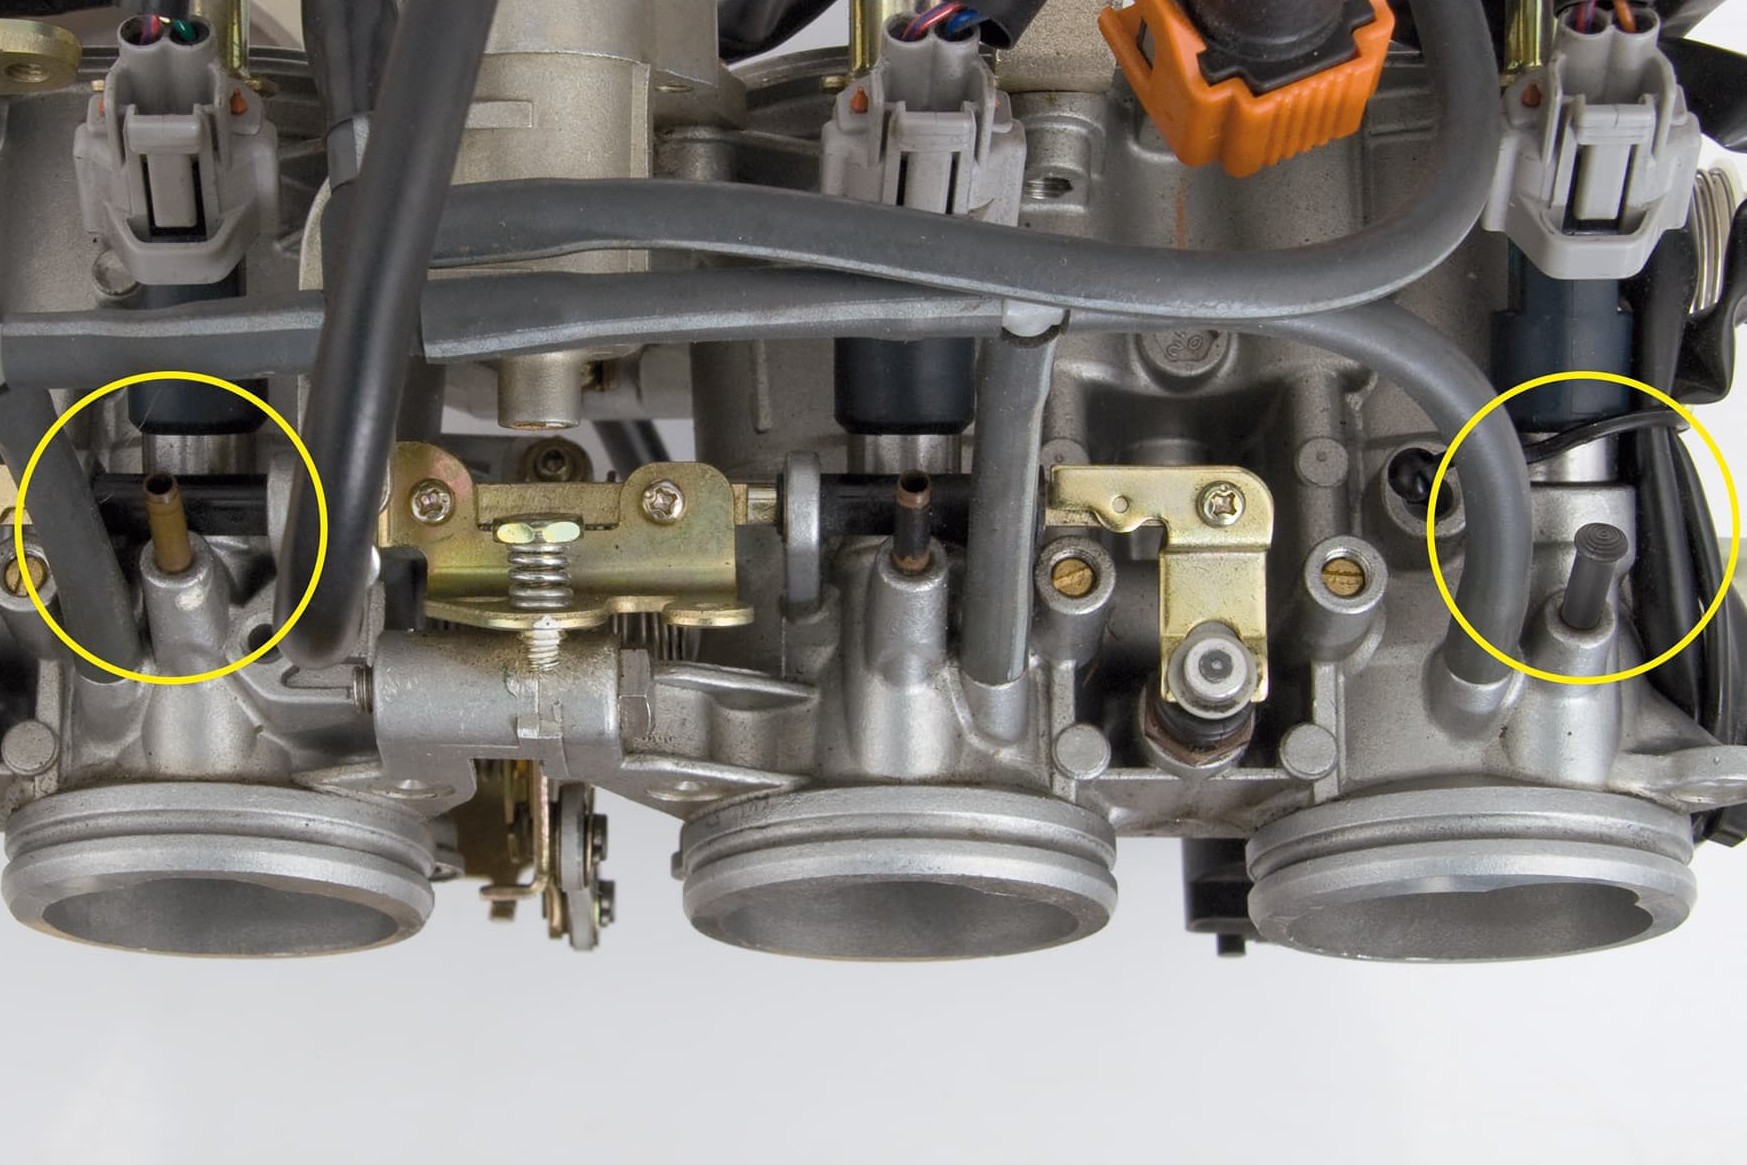
Step 1: Vacuum connections/rubber plugs
01 – Worth knowing
Just like multiple carburettor set-ups, the fuel injection system in a multi-cylinder engine has multiple throttle valves, whose synchronisation is crucial to smooth engine running. The throttle valves are opened and closed by the throttle twistgrip, thereby regulating the quantity of air and fuel supplied to the engine at a given moment. Due to mechanical stress, the basic setting of the throttle valves changes slightly over time and, as a result, the engine becomes noticeably out of sync when idling. You can hear it from the sound of the exhaust system and also see it from a fluctuating engine idle speed on the tachometer – put simply, the engine no longer runs smoothly. It's time to resynchronise the fuel injection system.
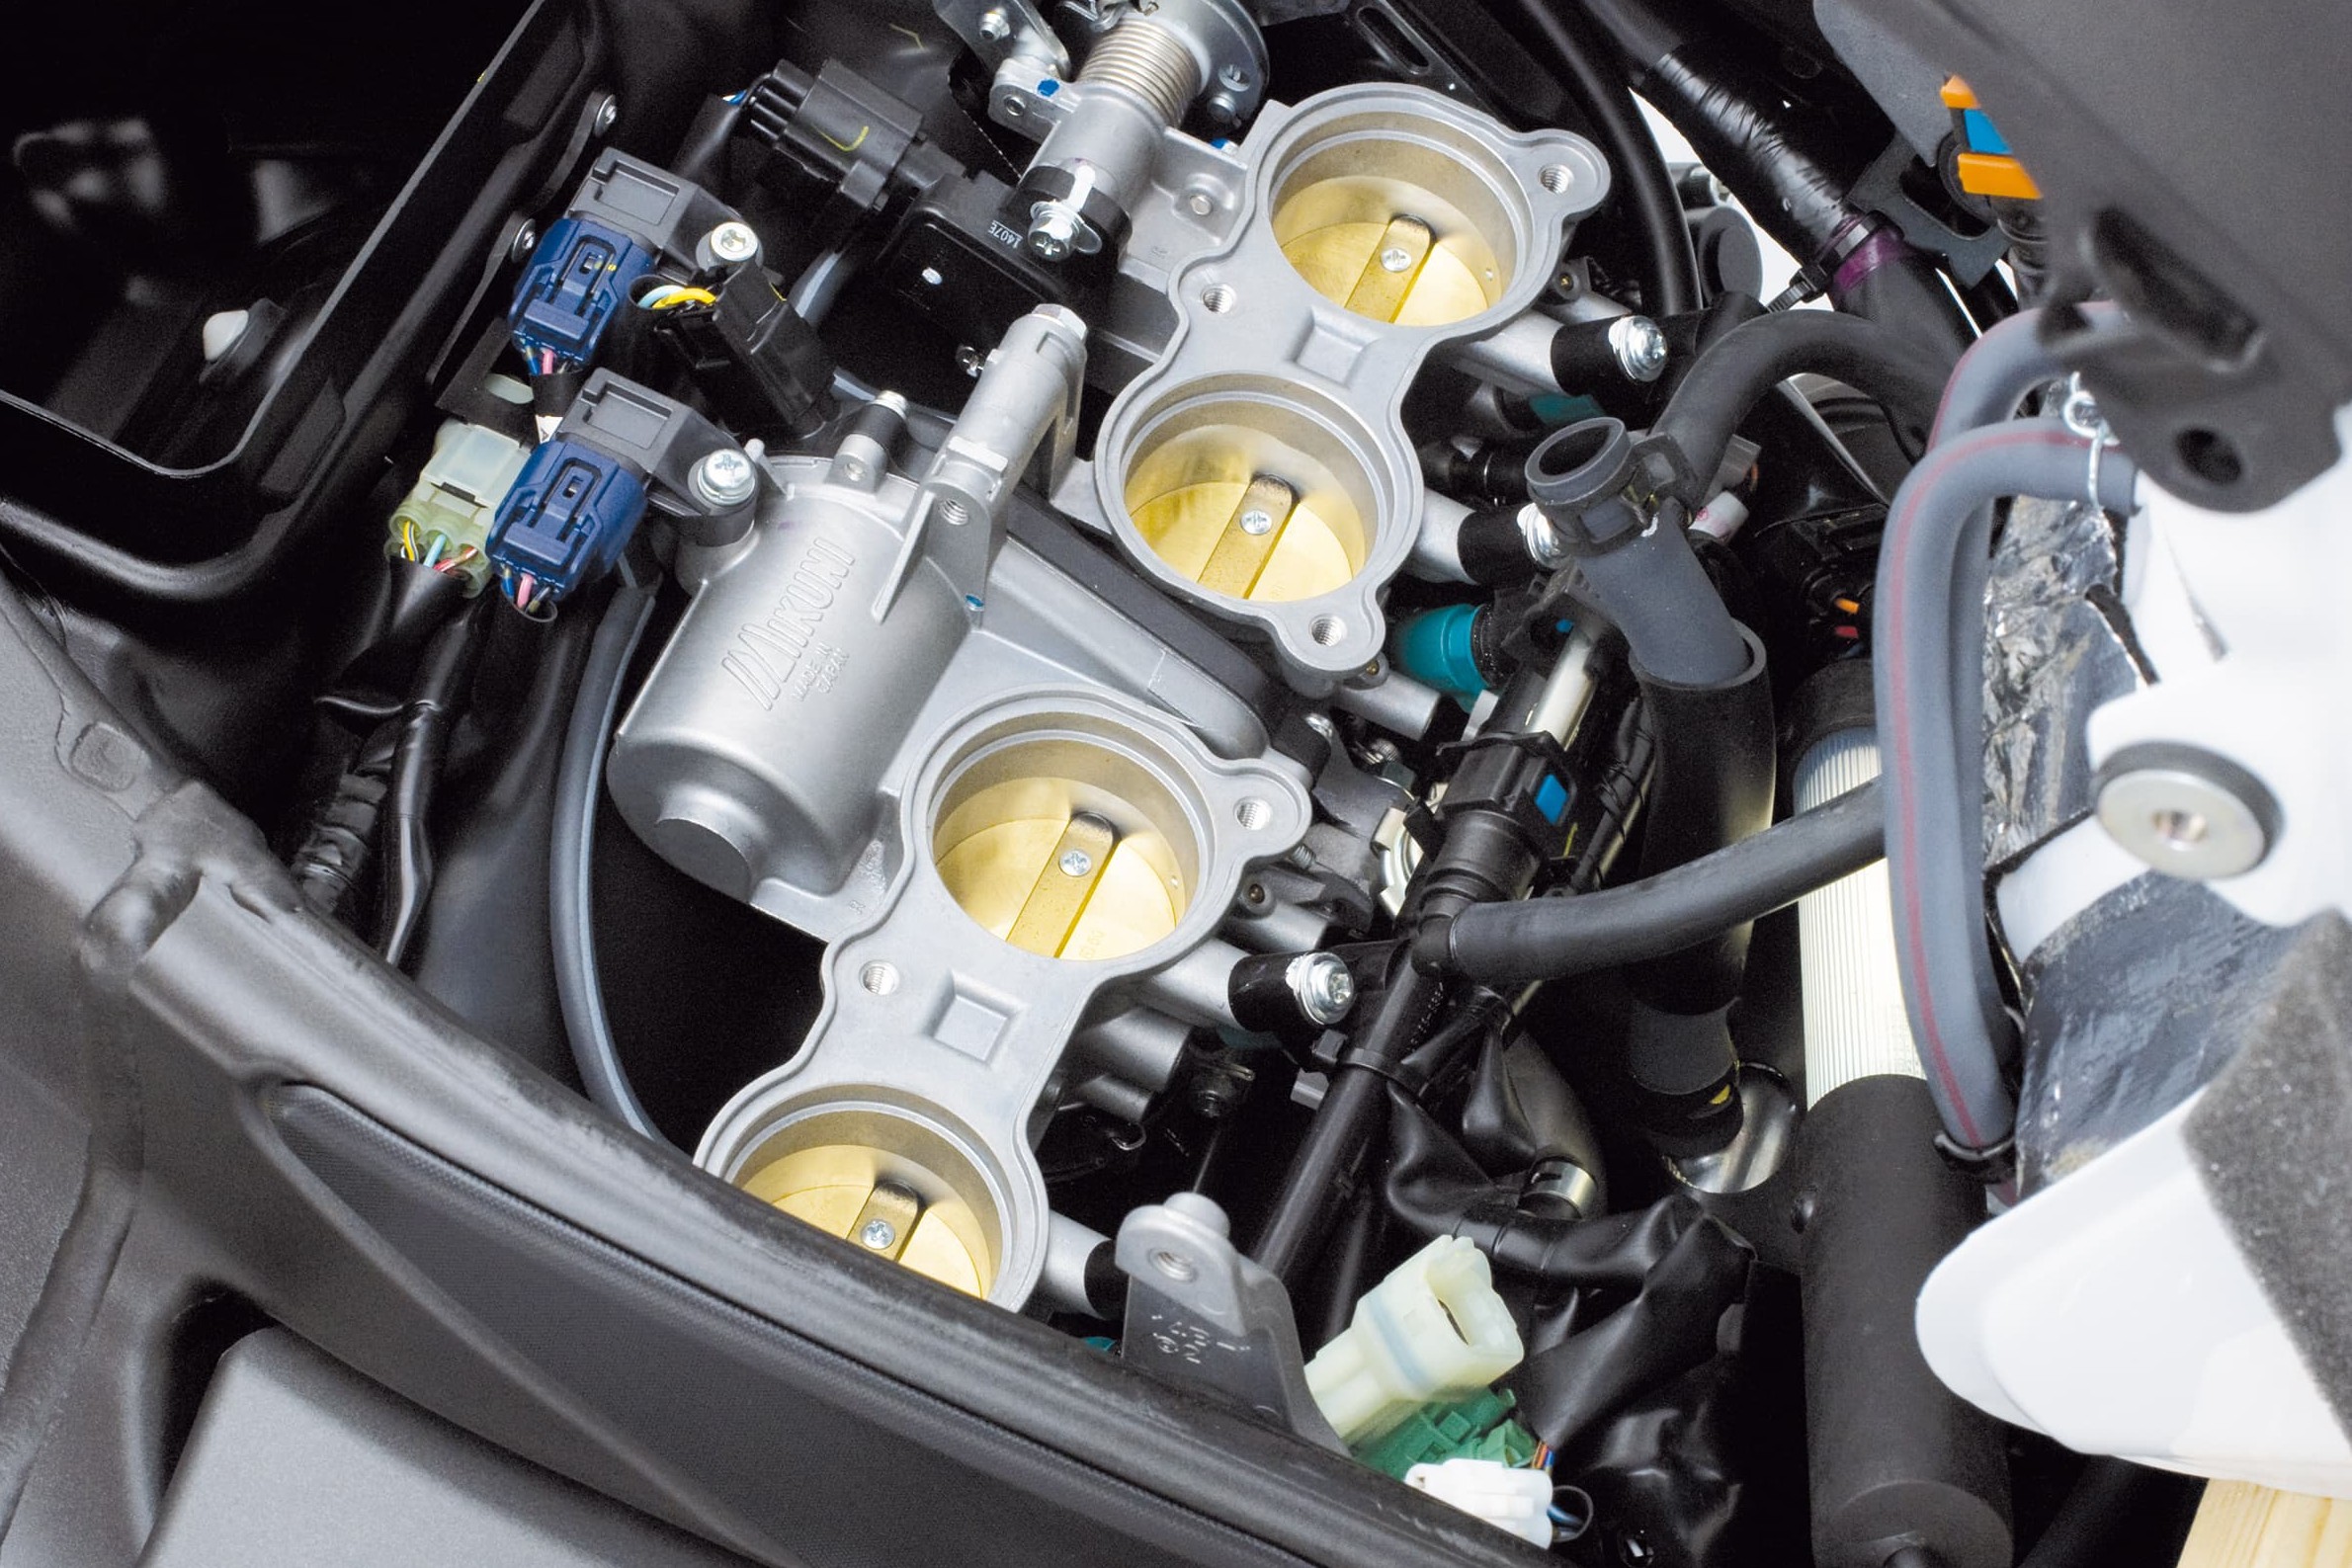
Step 2: Another fuel injection system, installed without air filter
02 – Jack up vehicle
To adjust the fuel injection system, you need a synchroniser, such as the ones from Craft-Meyer for 2- or 4-cylinder engines. Also the adjustment tools are very useful for some models. Before you start adjustment, warm up the engine so that the cold-start device does not falsify the readings. Then place the motorcycle securely on the stand – ideally in the open air but, if inside in a garage, always so that the exhaust fumes can escape directly to the outside without you breathing them in while you work.
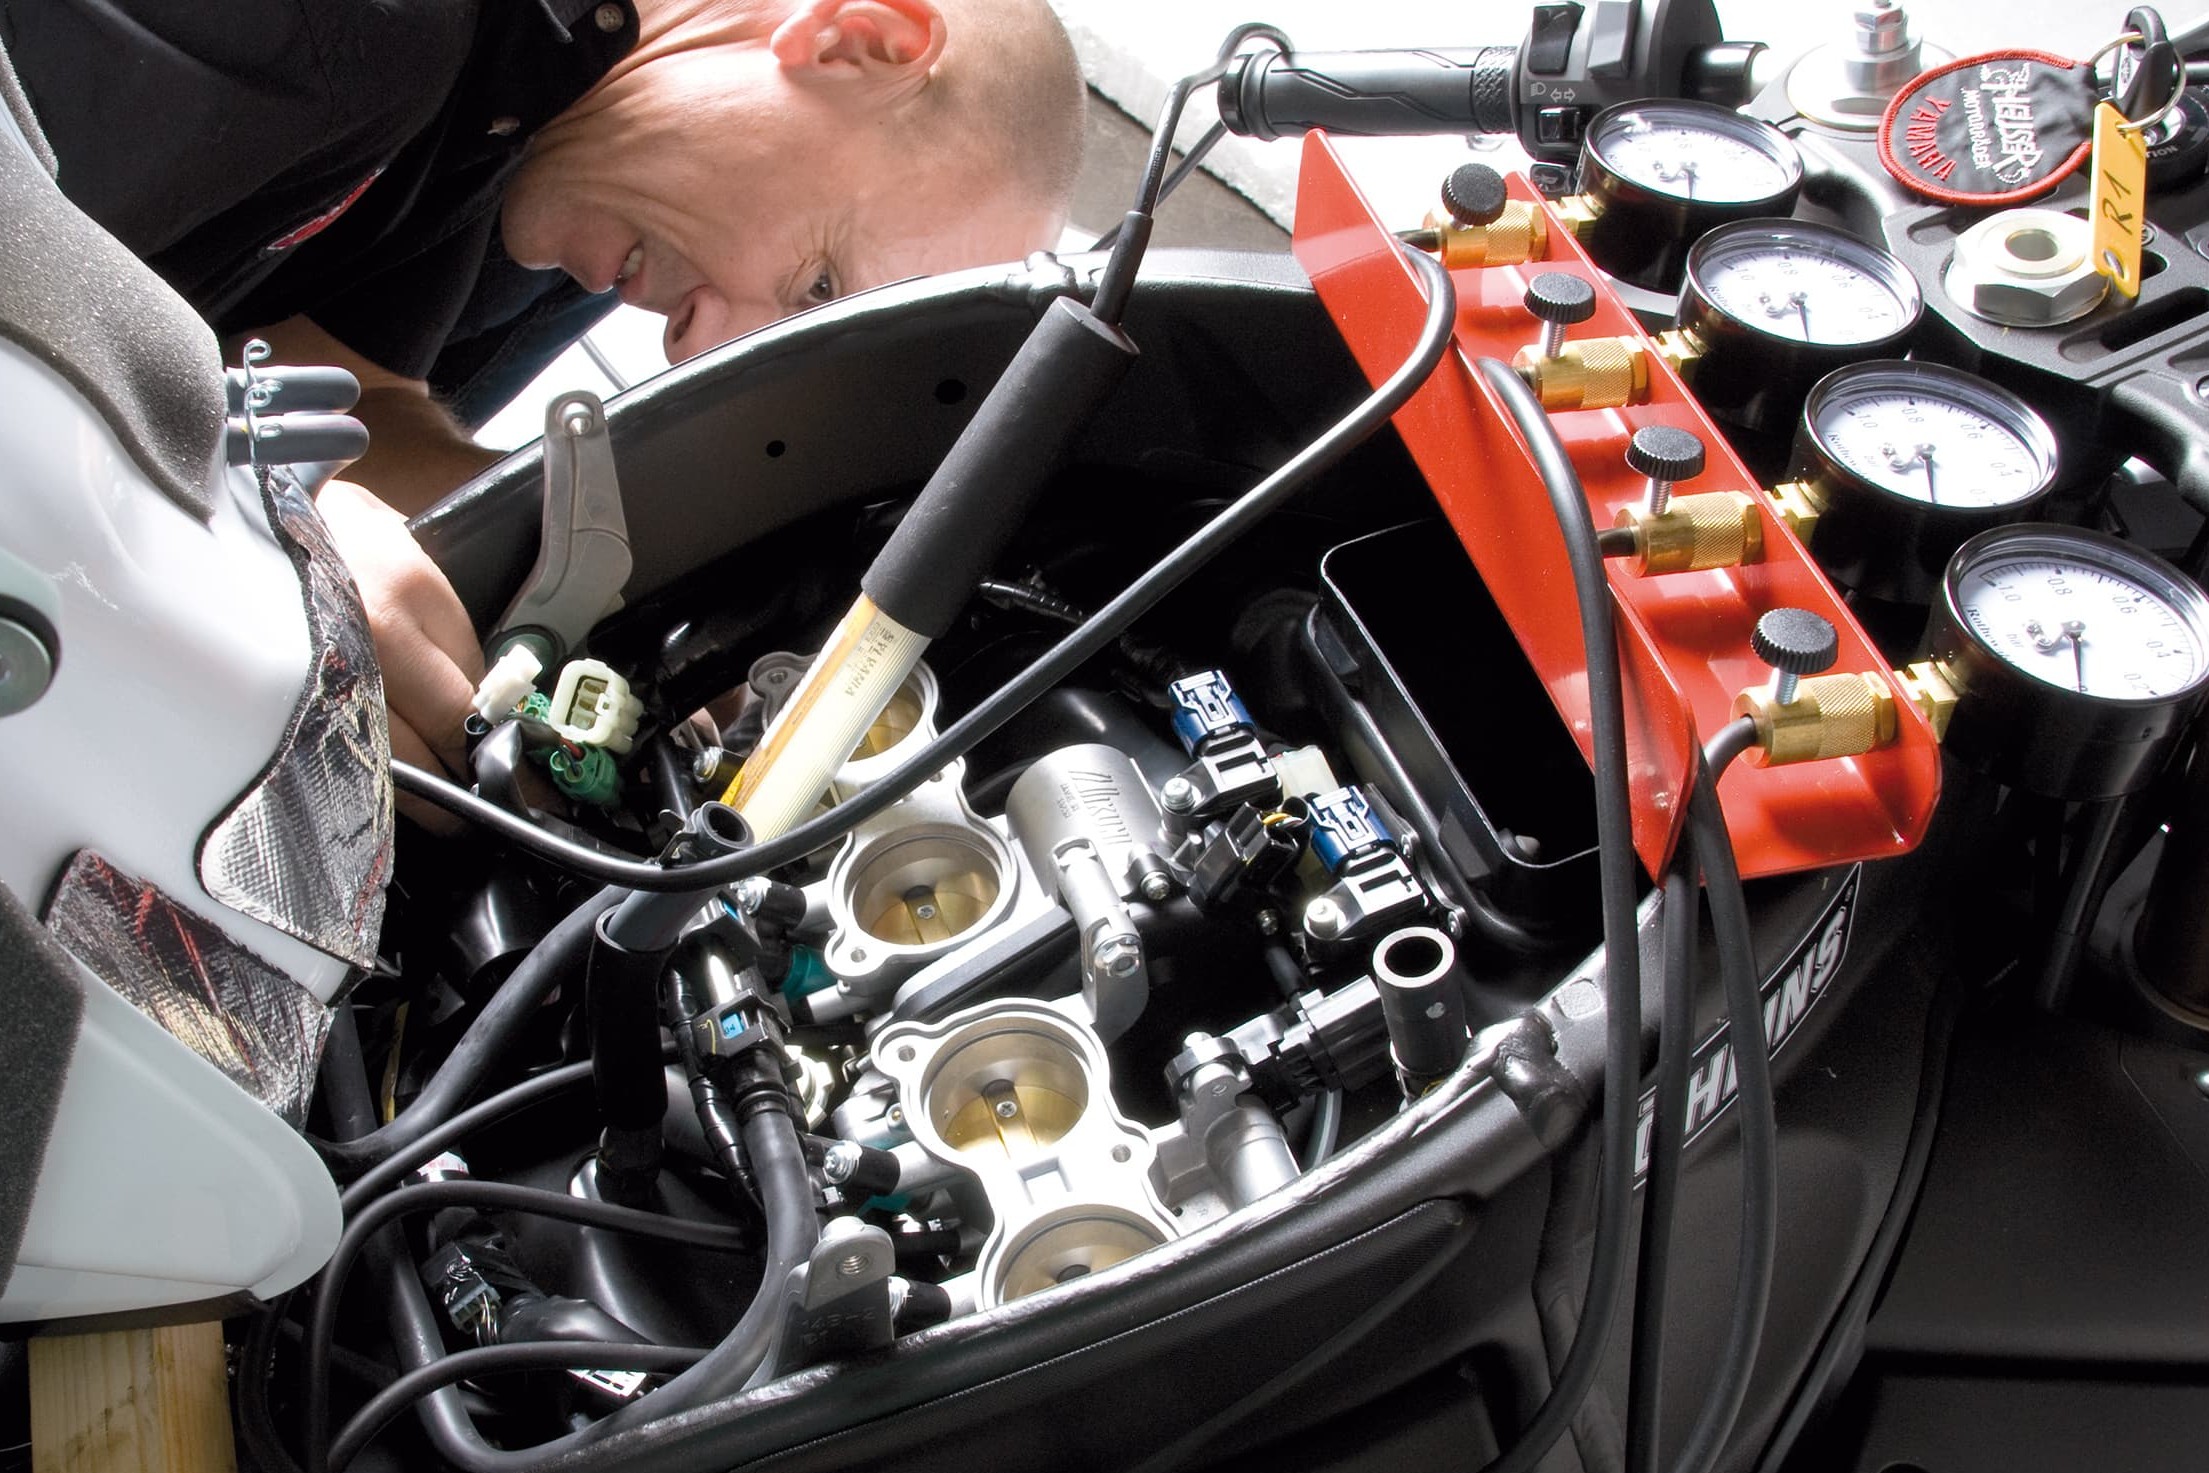
Step 3: Connecting synchroniser vacuum tubes
03 – Connect vacuum gauges
Connect the tubes of the vacuum gauges to the connection points on the fuel injection system after first removing the rubber plugs or tubes from the connections.
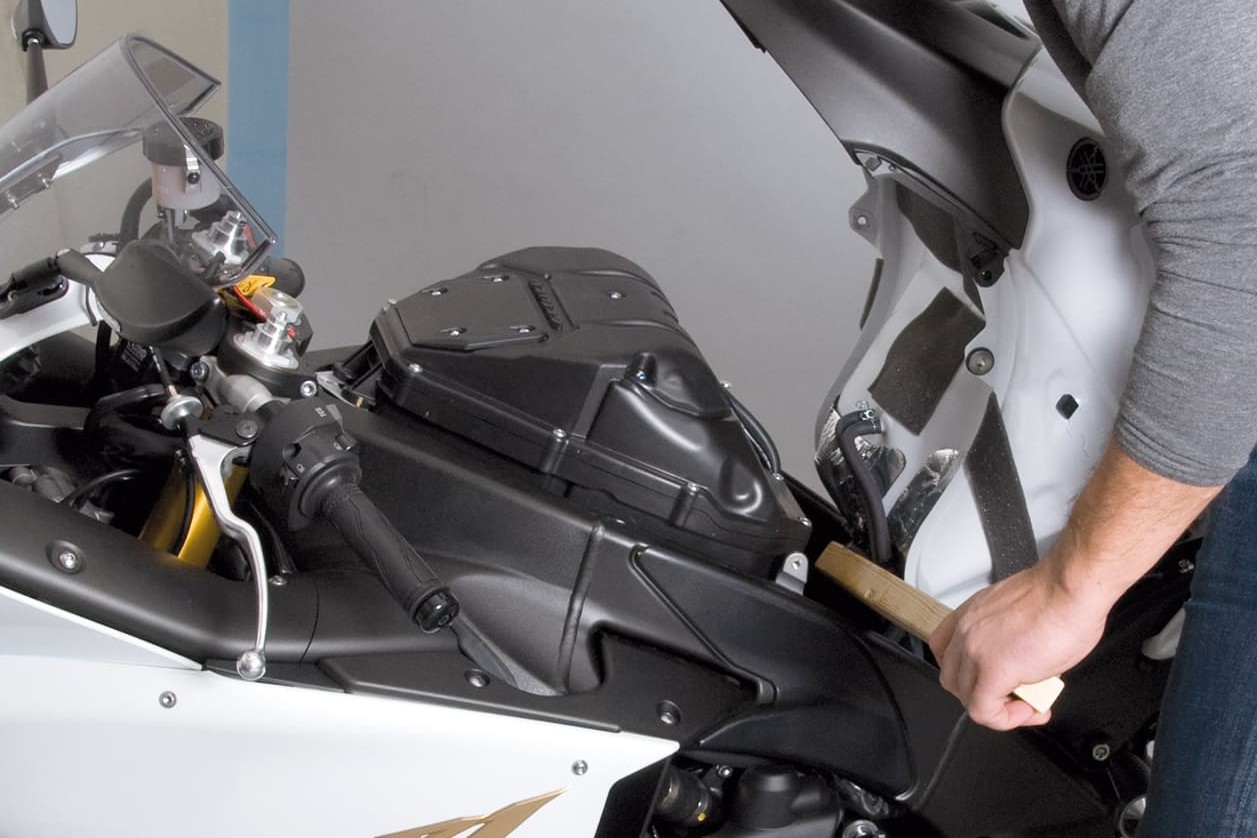
Step 4: Lift out tank and secure, e.g. with a piece of wood
04 – Lift out tank
If the tank covers the fuel injection system, it must be raised and supported on a piece of wood, for example. Often the tank cannot be removed entirely because it contains the fuel pump. The pump is actuated by the control electronics and is required for the engine to run.
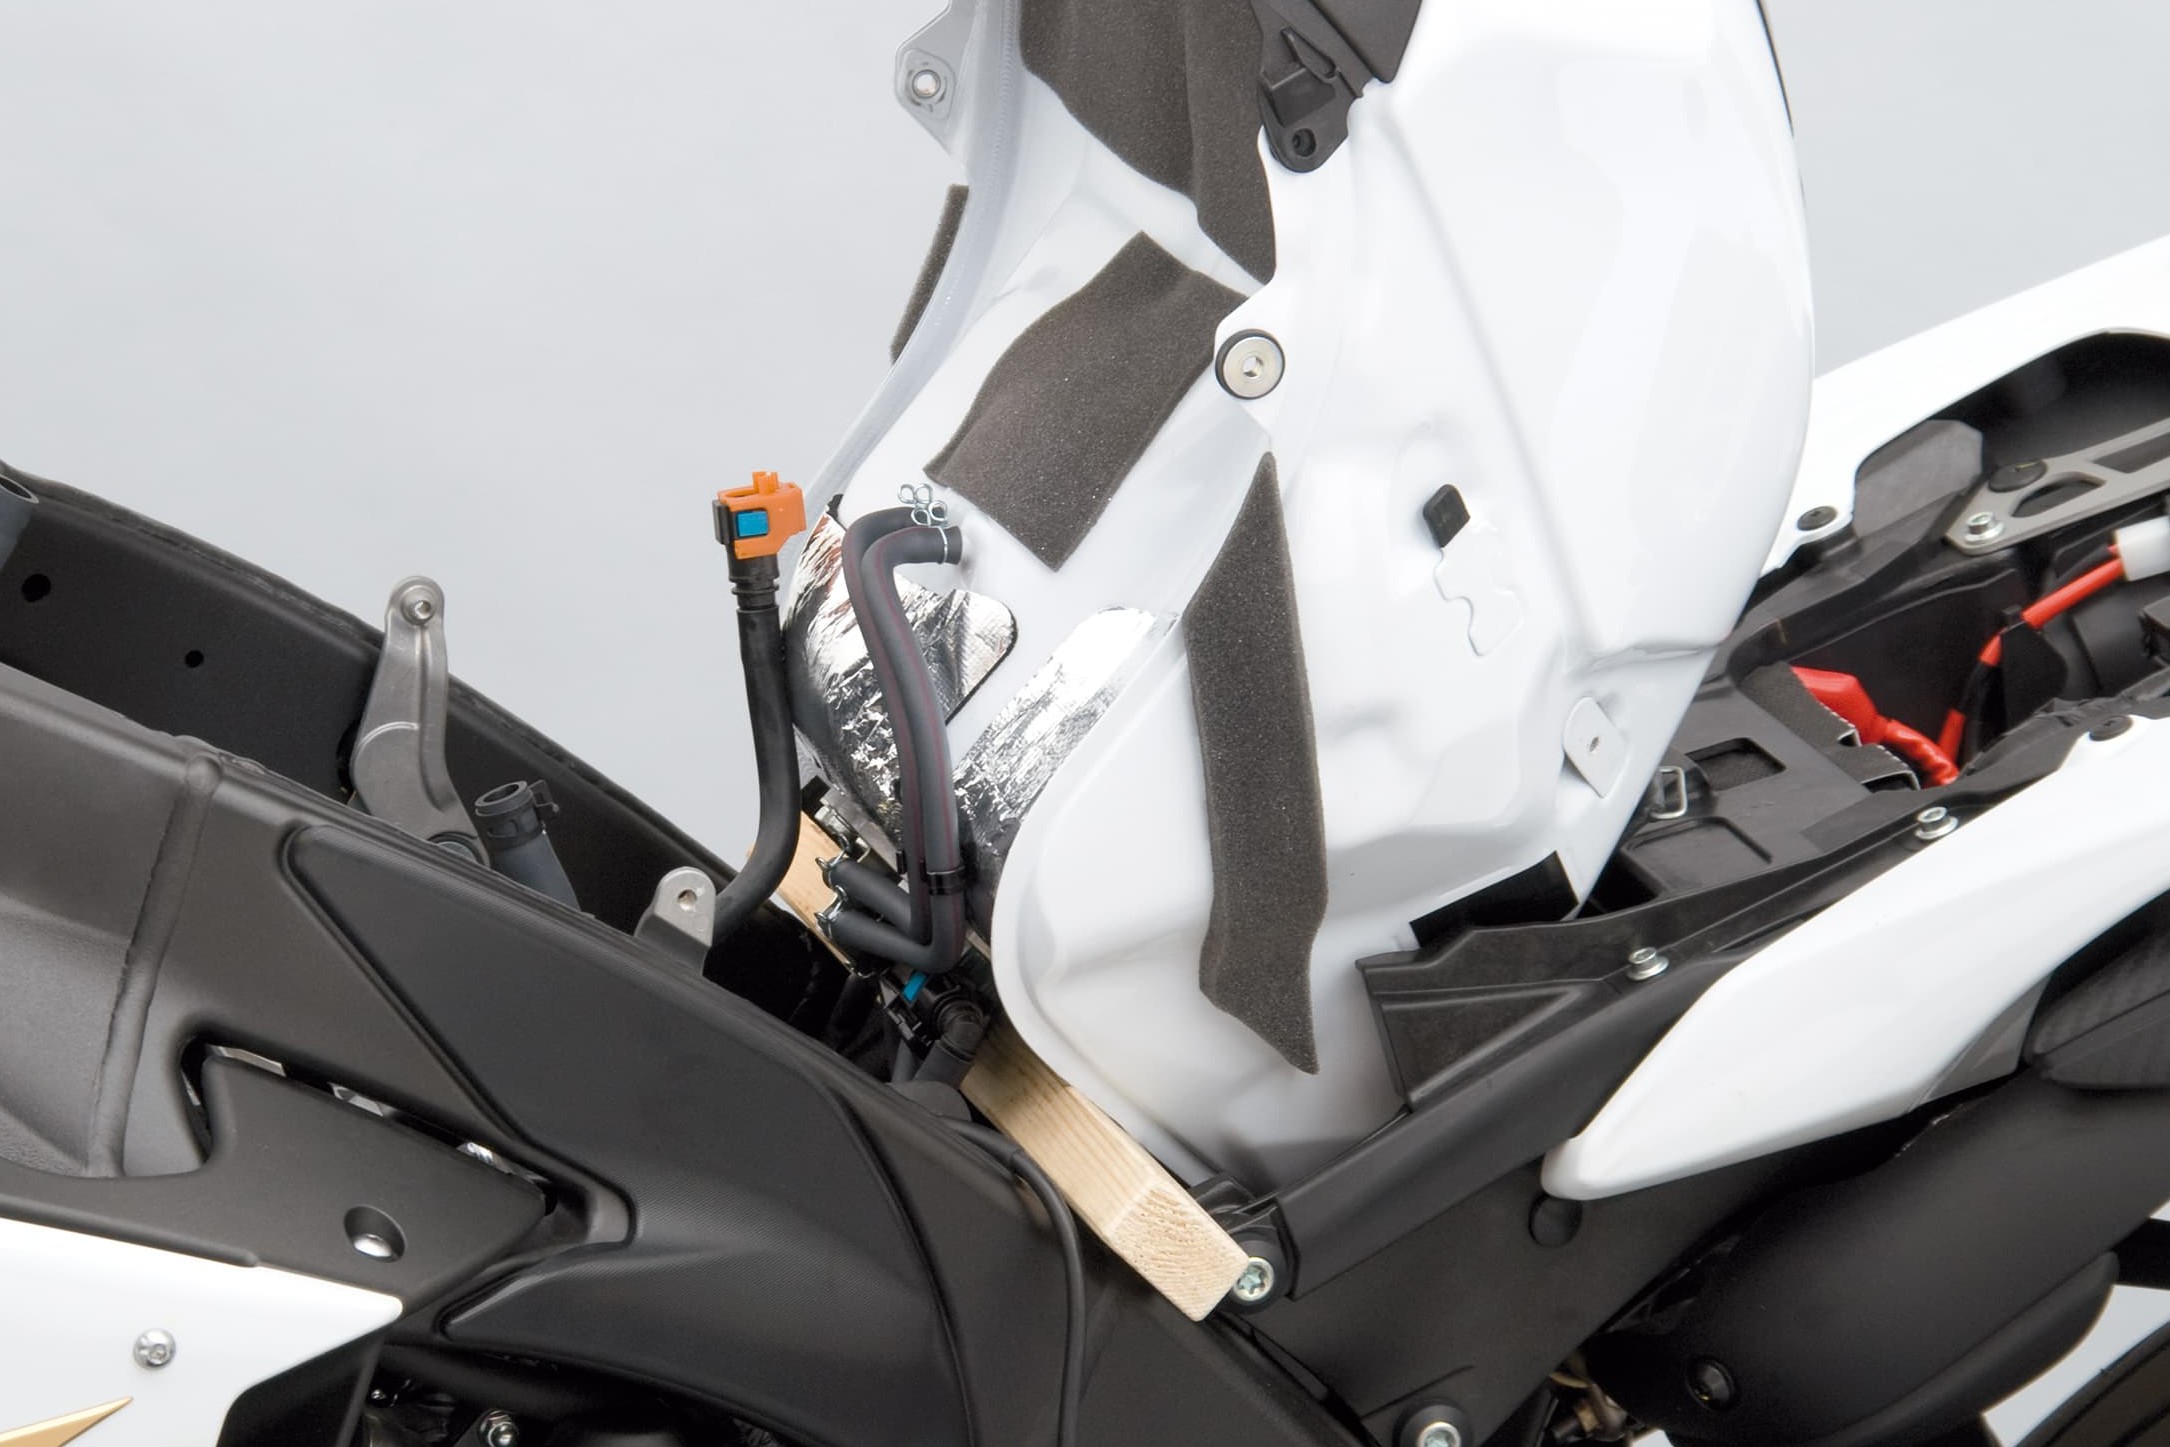
Step 5: Tank must be secured to prevent it slipping
05 – Tank must be secured to prevent it slipping
When "propping up" the tank, make sure that it cannot slip and cause injury or annoying damage to your motorcycle!
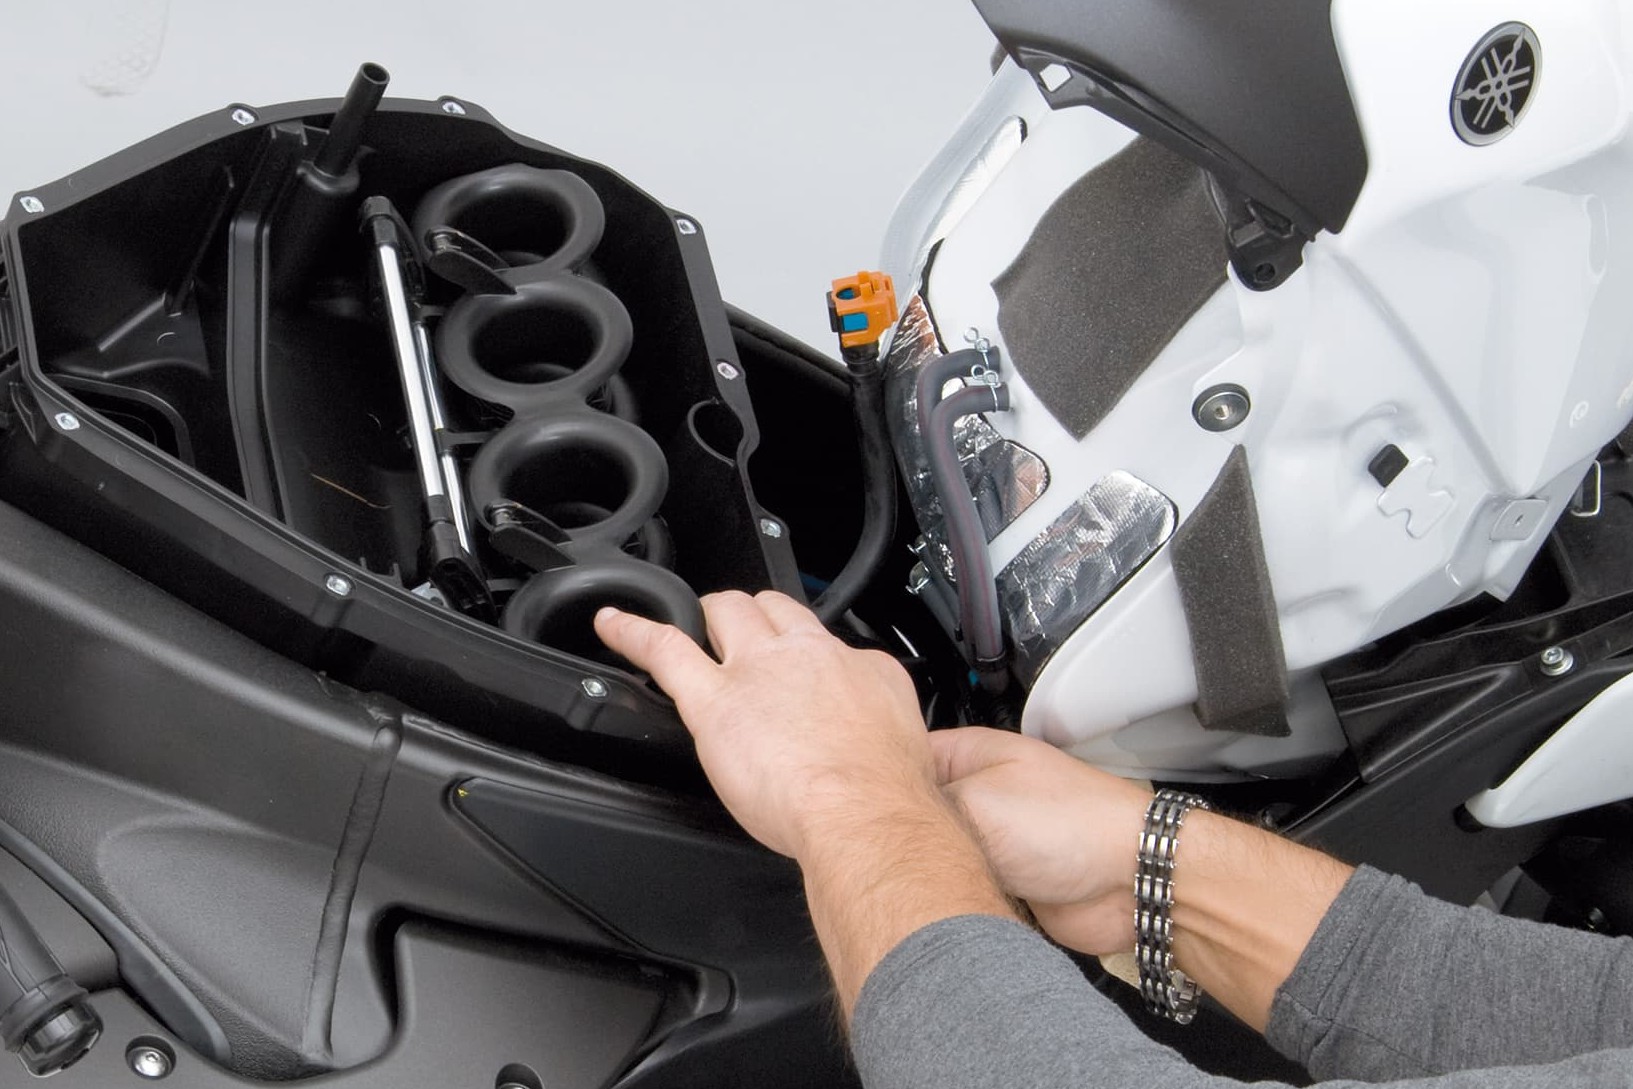
Step 6: Air filter housing must be removed
06 – Remove air filter housing
In addition, on our demonstration bike, the airbox must be removed to get at the fuel injection system.
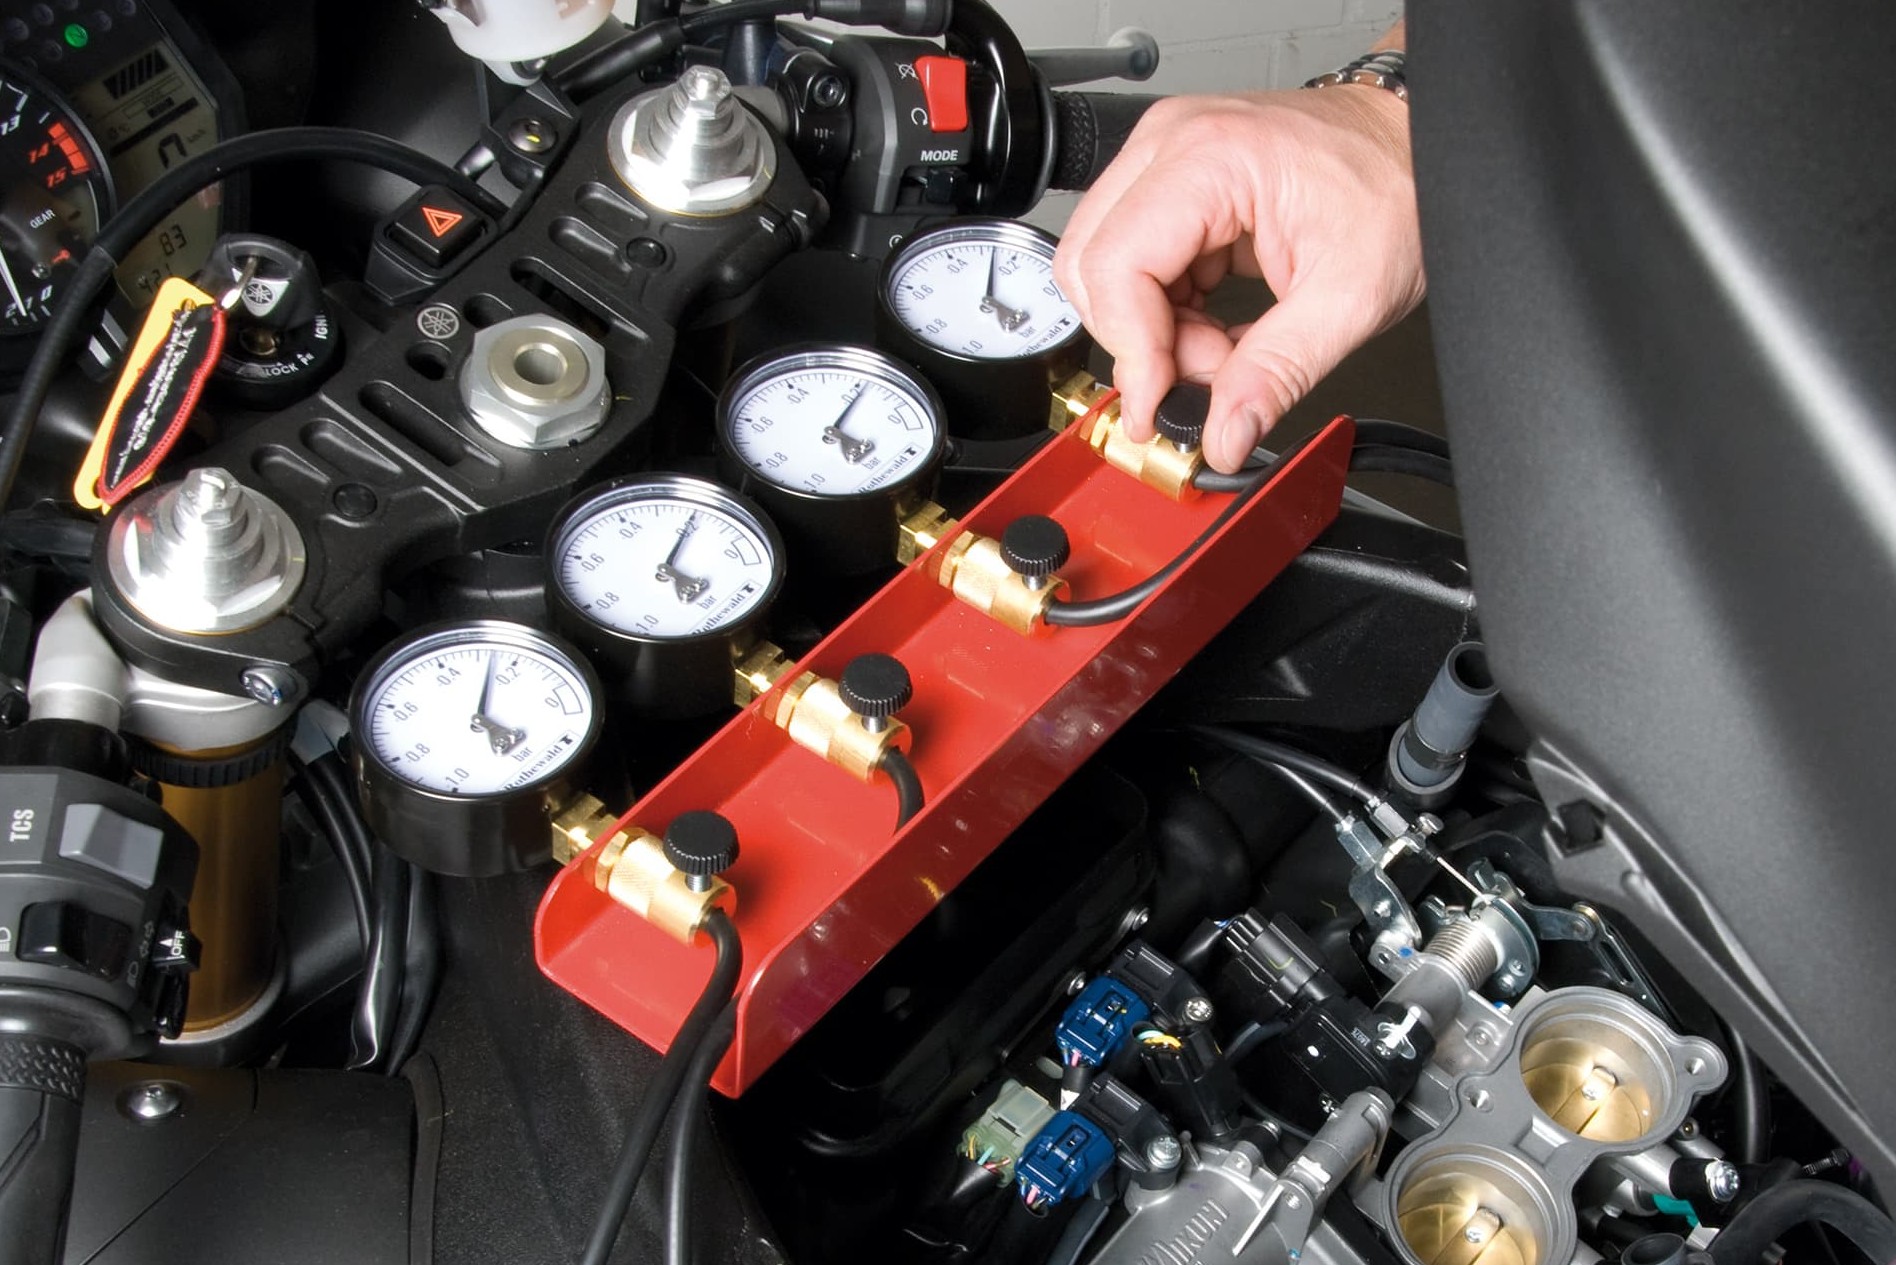
Step 7, Fig. 1: Adjust the needle damping
07 – Adjust throttle valves
Now you can start the engine and begin adjusting the throttle valves. To enable you to correctly read the gauges, they must first be calibrated to each other according to their instructions for use, and the damping must be adjusted so that the indicator needles flutter only slightly.

Step 7, Fig. 2: Turn the bypass screws until all gauges show the same readings
To adjust the throttle valves, screw the bypass screws in or out until all gauges show the same readings. By doing this, the small air gap opened up by the throttle valves when idling is adjusted so that air is sucked into the combustion chambers on all cylinders at exactly the same vacuum and at the same rpm, and thus the engine works uniformly on all cylinders.
As a rule, when adjusting the throttle valves, the aim is not to set a specific vacuum – most motorcycle manufacturers do not specify one. The important thing is to achieve the same value on all the throttle valves. Then the system will work "in sync" for all cylinders. If one gauge shows a completely different reading from the others, this may indicate that the basic setting of that throttle valve is completely wrong, or it may mean there is a fault or damage, such as loss of compression on one cylinder or a leaking intake manifold. If you cannot find and rectify the fault yourself, then you must go to a motorcycle workshop.
The throttle valves are adjusted using the so-called bypass screws (see Step 7, Fig. 1). Never touch other sealed or colour-coded adjusting screws! All bypass screws should be open at least half a turn.
The Louis Technical Centre
If you have a technical question about your motorbike, please contact our Technical Centre, where they have endless experience, reference books and contacts.
Please note!
These tips for DIY mechanics contain general recommendations that may not apply to all vehicles or all individual components. As local conditions may vary considerably, we are unable to guarantee the correctness of information in these tips for DIY mechanics.
Thank you for your understanding.
